Last summer I was poking around my local Re-Store and found a fantastic pile of used windows for $5 each! (If you are looking for used building materials, etc. try your local Re-Store, they are a great resource.) I really didn’t know what I would do with them but I grabbed 3 since I knew I’d never find them like that when I did have a project in mind. When I started thinking about doing some rehab on our guest room I found just the perfect project for one of them.
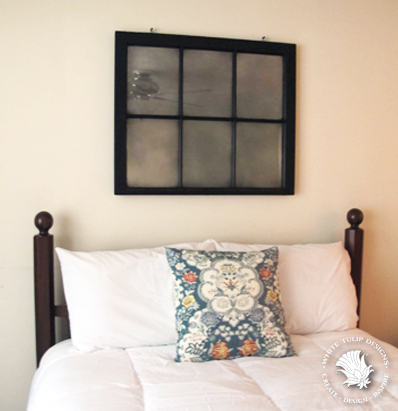
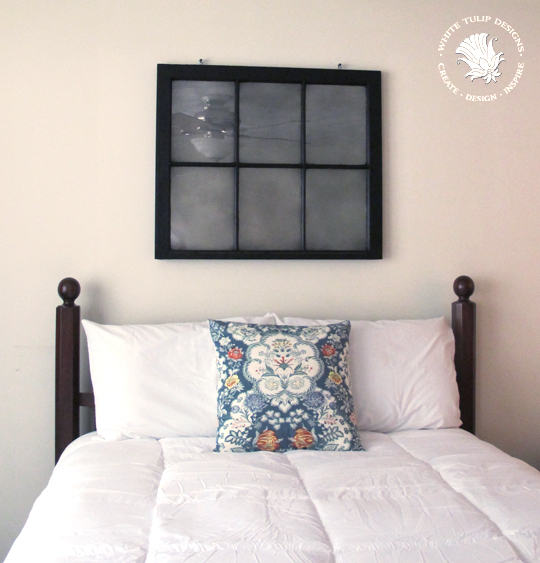
I wanted to have a large piece to center over the bed that I could add pictures and other items as I collected them. So I turned the window into a rustic-looking mirror. It’s not meant to be so clear that you can do your make-up just a reflective surface to add some character and a bit more light to the room.
It was pretty rough to start with so I used a wire brush and sand paper to clean the window as well as I could.
.jpg)
After it was nice and clean I taped off the panes and sprayed the back of each pane with Rust-Oleum Specialty Mirror Spray. Once it was dry, I painted over the “mirror effect” paint with a heavy gray (I used leftover paint from the kitchen cabinets!) to help seal it in. Then I painted the front of my window in a basic black. It required lots of drying overnight, etc. but all in all it was a fairly simple process.
Here’s a quick, step by step, slideshow . . . .
And here she is! I used heavy duty wall anchors in the wall and large lag eye-screws to attach it (links show similar items). The wall anchors I used are rated to hold 65 pounds each so she’s not coming down any time soon.
See you soon!
*This post contains affiliate links but all views regarding product recommendations are my own! For more info refer to my policies page, thank you for stopping by!


.jpg)


