Here’s the How-To for the bunting pillow from earlier this week.
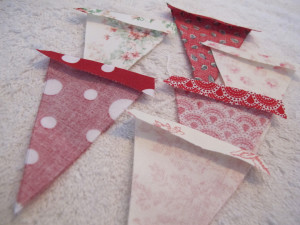
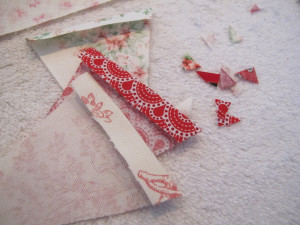
Start off by cutting and sewing your bunting flags. My triangles are roughly 3 inches across the top and 3¾ inches from top to tip but you can size them however works best for your project. Fold back the top of your triangle about ½ inch and iron down. Then snip the little bit of overhang on either side. Then sew along the bottom of the fold (making a sleeve for your ribbon) and continue the seem around the rest of the triangle.
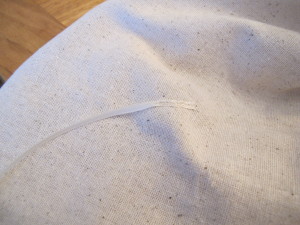
I made my pillow case but you can use a pre-made one. Start by sewing narrow ribbons (1/8 inch), at opposite angles, in the upper 2 corners of your pillow case. Sew down the lower end leaving about 4-5 inches loose.
I laid out my flags between the pillow ties to see how they would fit. Once I was happy with it I measured and cut a length of ribbon with roughly 5-6 inches left on either side to tie the bunting to your pillow.

So now you can change your entire bunting or just switch the flags to coordinate with the season! If your pillow case opens easily you can hide your extra flags inside to have on hand for last minute changes. And here you go . . .


Jennifer (White Tulip Designs)