So excited to share a new project today. We’ve been working in the yard for weeks now on different projects and in the process G and I found the perfect tree for a rope swing! I’ve been making these for years and donating them to school fairs, etc. Now we finally have one in our yard. Yipee!
Supplies -
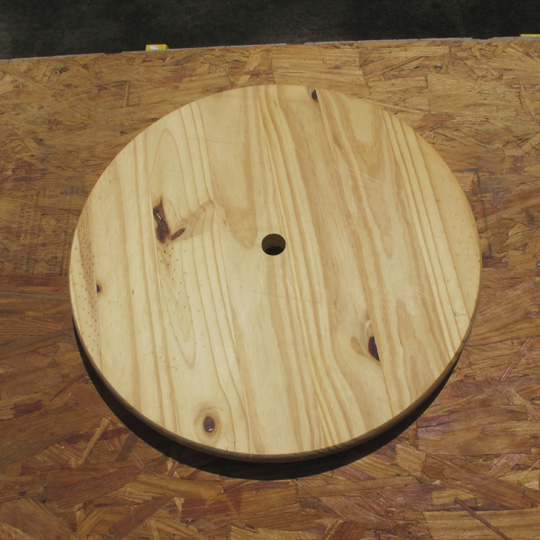
- Wooden Round (like this)
- Wood for braces (mine is oak)
- Hole saw or drill with large bit
- Extra strength rope
- Primer
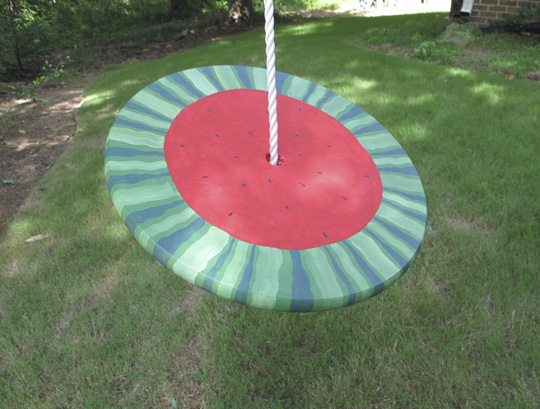
- Paint colors (for watermelon you’ll need dark pink, red, light, medium, and dark green)

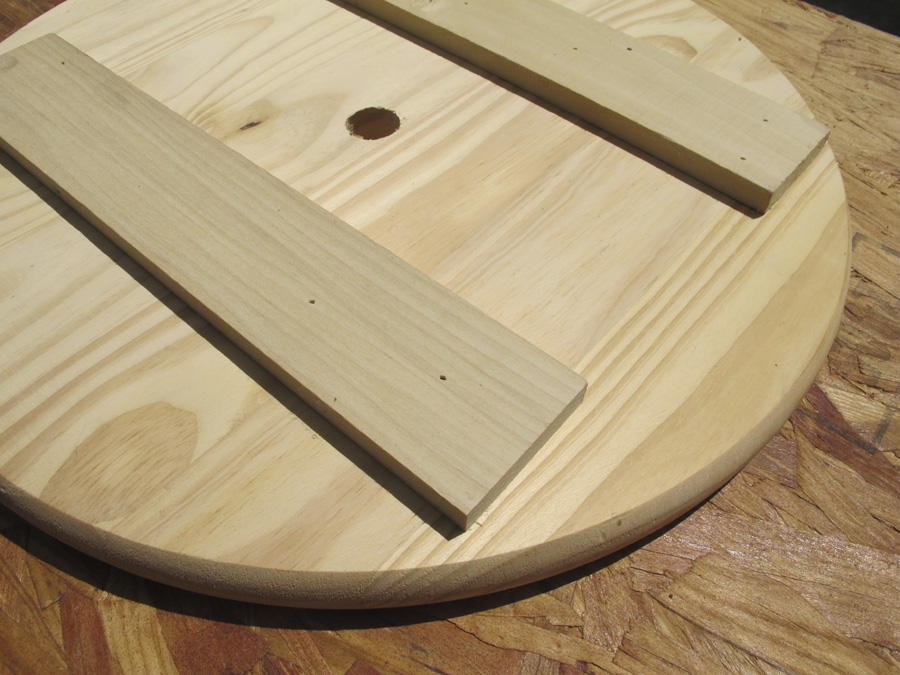
You want to start by finding the center of your round to drill the hole for your rope. Now, find the grain of where your wooden round was glued together. Then you’ll nail the brace pieces across the grain to give it extra support. If you like the watermelon, it’s super easy to paint. Even if you don’t do a lot of craft painting. See here:
To Paint:
- Paint the entire piece with primer (I use Kilz) it helps your swing last longer by sealing the wood
- Sketch out a large circle (I like the free hand look) leaving a border of around 3 inches for the “rind”
- Paint in the center of your “melon” with a mix of dark pink and red
- Now the outside border gets a coat of the medium (grass) green
- Add varying wide and narrow stripes of the light (mint) green
- Using the darkest green, add a wedge/stripe between almost every stripe of the light green
- To finish the slice add in your “seeds”. I sketched mine in pencil first to make sure they were spaced right then filled them in in permanent marker.
- Let swing dry/cure overnight. Finish with a coat of sealer. (Let it dry 2 days before you hang.)

Hanging the swing:
We started the process by finding a tall, sturdy tree with a fairly thick branch that was really high off the ground.
Then, we tied a long length (approximately 50 feet) of scrap rope from another project to a piece of scrap wood. At this point Hubbs was at work so G and I attempted to throw it over our chosen limb. Let’s just say I’m really glad the footage hasn’t show up on Youtube. So, we had to wait to get Hubbs to throw our test wood over the branch and, of course, he landed it on the first try.
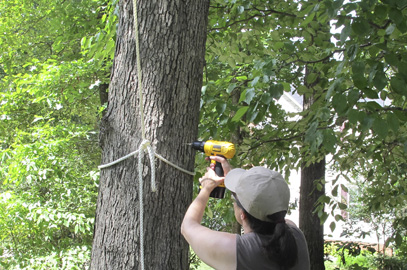
When we were ready to hang the real thing we used the test rope to pull the new rope back over the limb. I drilled a hole into the side of the tree to screw in a large hook to catch the swing when it’s not in use. I tied off the sing below the hook to keep it from shimmying up the tree while kids are swinging on it.


Make sure the swing sits pretty high when you first tie it off. The first swing will settle it into place much lower. Ours was around 4 feet off the ground at first. Luckily G is a bit of an acrobat. The swing itself will need a good strong knot on the underside to make sure it doesn’t slide off.

G started off by explaining to me how he was too “mature” for a rope swing. Now he’s loving it (and so am I!) I really wish we had done this sooner. Better late than never!
Don’t forget to stop by tomorrow for Saturday Style!
Linking up at Met Monday, Wow Us Wednesday, & The Scoop


Jennifer (White Tulip Designs)
[…] Wonderful DIY project the whole family can enjoy. (Tutorial via White Tulip Designs) […]
Thanks! Absolutely!
I absolutely love this! Pinned and tweeted. Thank you so much for bringing such a masterpiece to our party. I hope to see you tomorrow at 7 pm. We can’t wait to party with you! Lou Lou Girls
Hi Sylvia, yes it is the 18″ round. I’ve done them for school auctions before and I normally do the smaller round. For our house, though I wanted it to be big enough that adults could swing on it and be comfortable. The kids love it and when we have over families over it’s fun that the adults can get out and swing with the kids.
Thanks for stopping by!
I love the watermelon design. This would be perfect for boys and girls. Did you use the 18″ round piece from Home Depot? I have used them for other projects but thought they would be too big for the round swing. Yours certainly doesn’t look too big.
[…] See it HERE! […]
[…] Watermelon Tree Swing: If this doesn’t just scream summer, we don’t know what will. (via White Tulip […]
Thank you Carole! I’m so glad you stopped by!
This project is super cool. Really like it and appears pretty easy to make. Thanks!
Carole
Thank you, I’m so glad to have you! When you get one up feel free to link it to my Facebook page!
Am dropping by from the Something to Talk About link party. What an adorable idea!! I’m now looking at our trees trying to figure out where I can put one of these.
Thanks for sharing!!
Best,
Nina