So now for the shadowbox from Tuesday’s butterfly project. I’m planning to add more butterflies to my little collection so I looked around for a simple, inexpensive, shadowbox and apparently they don’t exist, sort of. I had already purchase some of the Ikea Ribba frames with nothing specific in mind. Mainly because they’re cute, well put together and super cheap! Like, $1.99 for a 5×7 frame (without the included mat). So, I decided if I ruined the frame I’m only out $1.99, right?
Supplies:
- frame
- ruler
- Exacto knife
- adhesive backed foam (to match your frame)
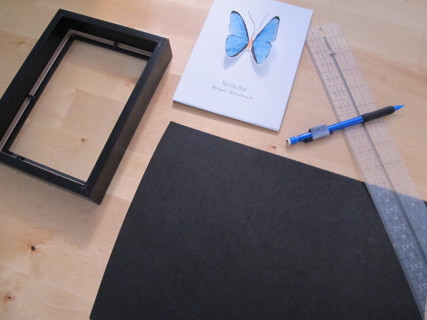
Steps:
- Open your frame and remove backing easel and set aside. Secure your glass inside with the attached metal tabs.
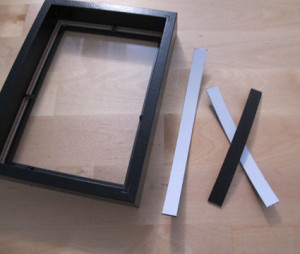
- Measure from the back of the glass to the top of the back trim.This will be the width of your foam strips, minus 1/4 inch to attach back.
- Cut strips of foam to fit along the inside sides. Be sure not to leave any openings between the pieces.
- Remove adhesive backing and attach, without any overlapping, around the inside of your frame.
- Place your feature piece inside of the frame (make sure your glass is clean first).
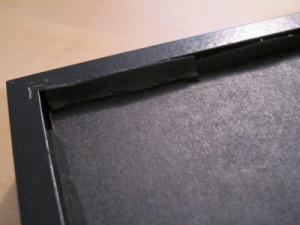
- Place the easel back on top of the inside foam. It should sit perfectly on top with a little ridge of frame still showing on all sides.
- I used more foam strips to seal all of the sides but if you’d like a more permanent eseal you can use masking or packaging tape to seal the back.

*this post contains affiliate links
Linking up on Savvy Southern Style - Wow us Wednesday!






Jennifer (White Tulip Designs)
[…] shadowbox tutorial see HERE. Shares Posted in […]